Why Run a WordPress Site on Kubernetes?
WordPress is a free and open-source website building platform. Using WordPress, anybody can make any kind of website. Years ago, it started out as a blogging platform but soon transformed into a CMS and later into a full-fledged website building platform. Written in PHP and paired with a MySQL or MariaDB database, WordPress has a plugin and template architecture and an infinitely long ecosystem to power websites with plug-ins and themes (template).
Kubernetes is an open-source system for automating deployment, scaling, and management of containerized applications. It organises applications in logical units of containers for easy deployment, discovery, management. Kubernetes is THE platform for running modern applications as scale, in a resilient manner with declarative configuration and automation.
Why Helm?
Helm is a package manager for Kubernetes. It helps to package, configure, and deploy applications and services in a Kubernetes cluster. Helm uses a packaging format called charts; a Helm chart is a collection of YAML files that describe a related set of Kubernetes resources.
Setting up a WordPress instance on the Kubernetes cluster will help you to have a hosting infrastructure that can scale dramatically and provide resilience, flexibility powered by Kubernetes.
So, let’s set this up in 15 minutes.
I have provided the step by step to install and run a WordPress instance on a Kubernetes cluster. I have run it locally as well as in Google Cloud Platform (GCP).
Setup a Kubernetes Cluster (in GCP)
# Create Clustergcloud container clusters create sam-cluster-001 \--zone us-central1-a --additional-zones us-central1-b,us-central1-c# Update Kubeconfig filegcloud container clusters get-credentials standard-cluster
Install Helm
Installation of Helm is quite easy. Install the available helm package for your desktop or your working OS.
## Install Helm # for Macbrew install kubernetes-helm## for ubuntu# download Helm binarywget https://get.helm.sh/helm-v3.0.2-linux-amd64.tar.gz# unzip & install Helmtar xvf helm-v3.0.2-linux-amd64.tar.gzsudo mv linux-amd64/helm /usr/local/bin/# review the version installedhelm version

Update Helm Repo
Now, we’ll install a chart from the repository. But if your helm is installed a while back, you need to update the repository.
# Update helm chart repo - to get the latest list of chartshelm repo add stable https://charts.helm.sh/stable --force-update
Find WordPress in Helm repo
Helm makes use of chart repositories. A chart repository is a remote server (connected over HTTP protocol) that holds an index.yaml file and (optionally) packaged charts. A chart is a collection of files that describe a set of Kubernetes resources. A chart may be used to deploy a simple pod or one that contains a complex stack of applications and services.
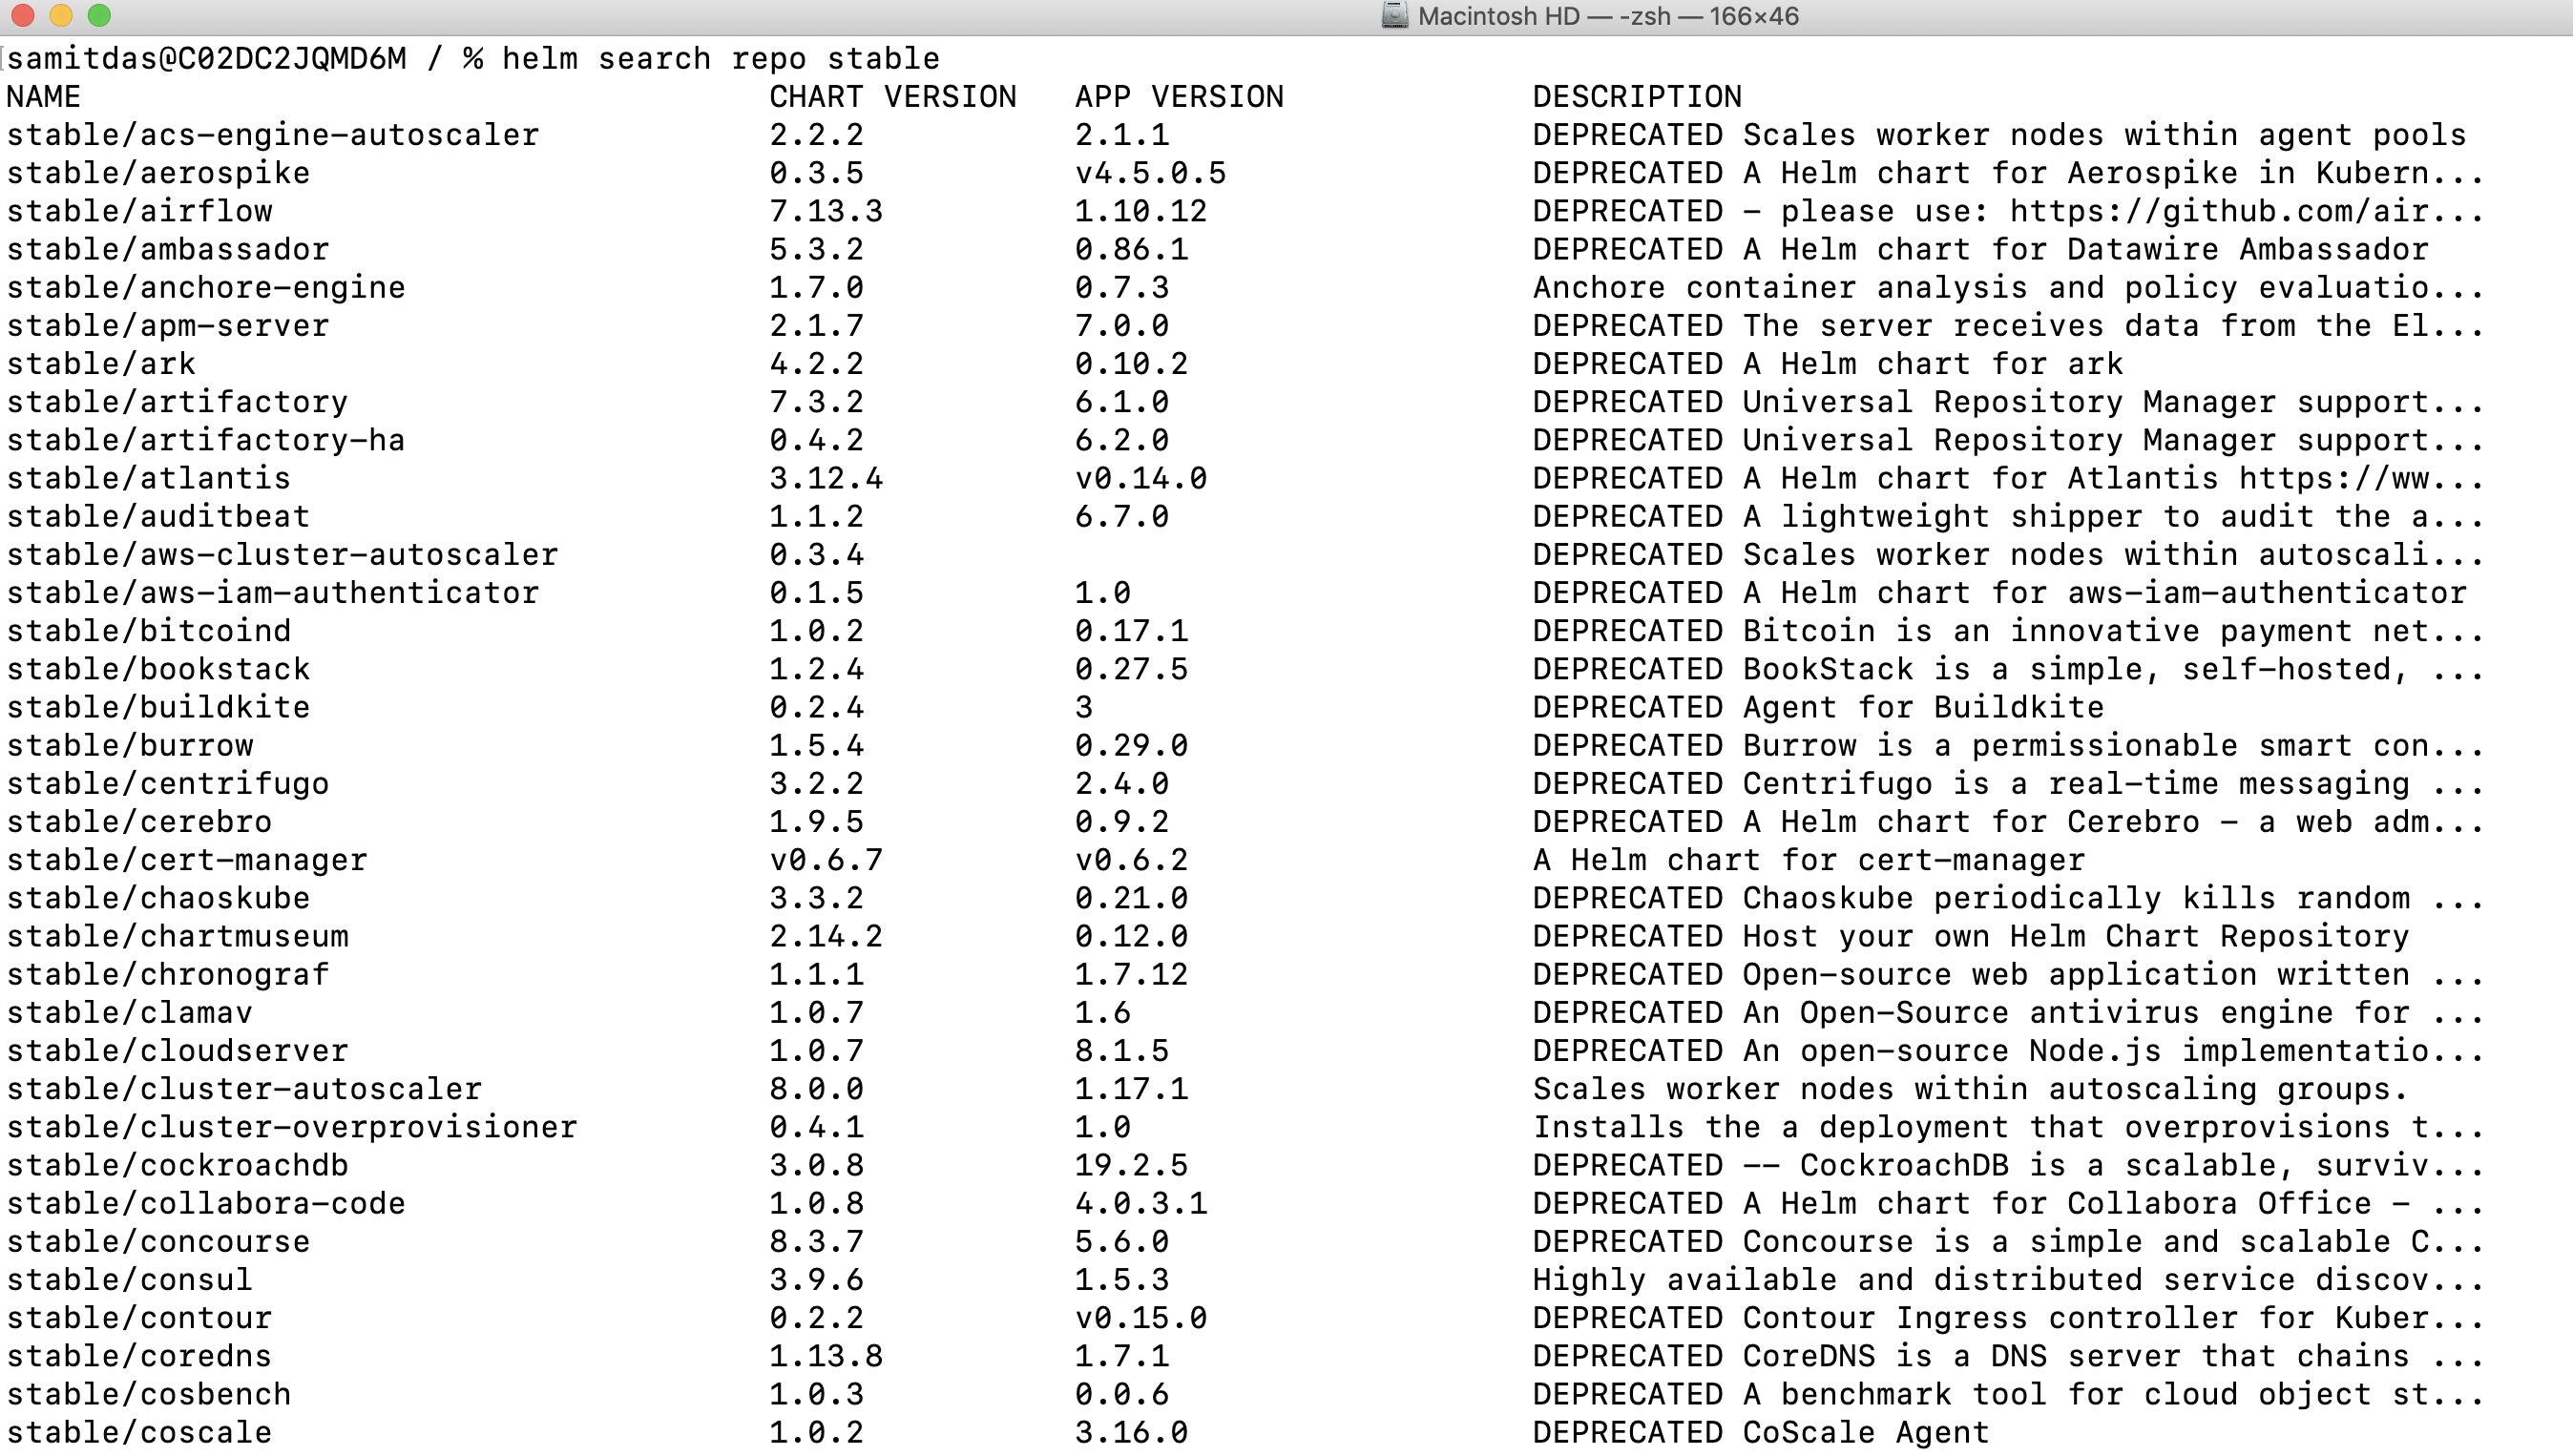
List out the available charts.
## search Helm repohelm search repo stable

Find the WordPress Chart
The list of artifacts for WordPress is packaged into a chart that can be easily deployed, using Helm. In order to do this, you must first find the WordPress chart repository in the official stable repository.
helm search repo stable | grep wordpress

Installing WordPress
Install WordPress using the above chart from the stable repo.
helm install stable/wordpress --generate-name
Congratulations!!!
WordPress is now deployed in the Kubernetes cluster.


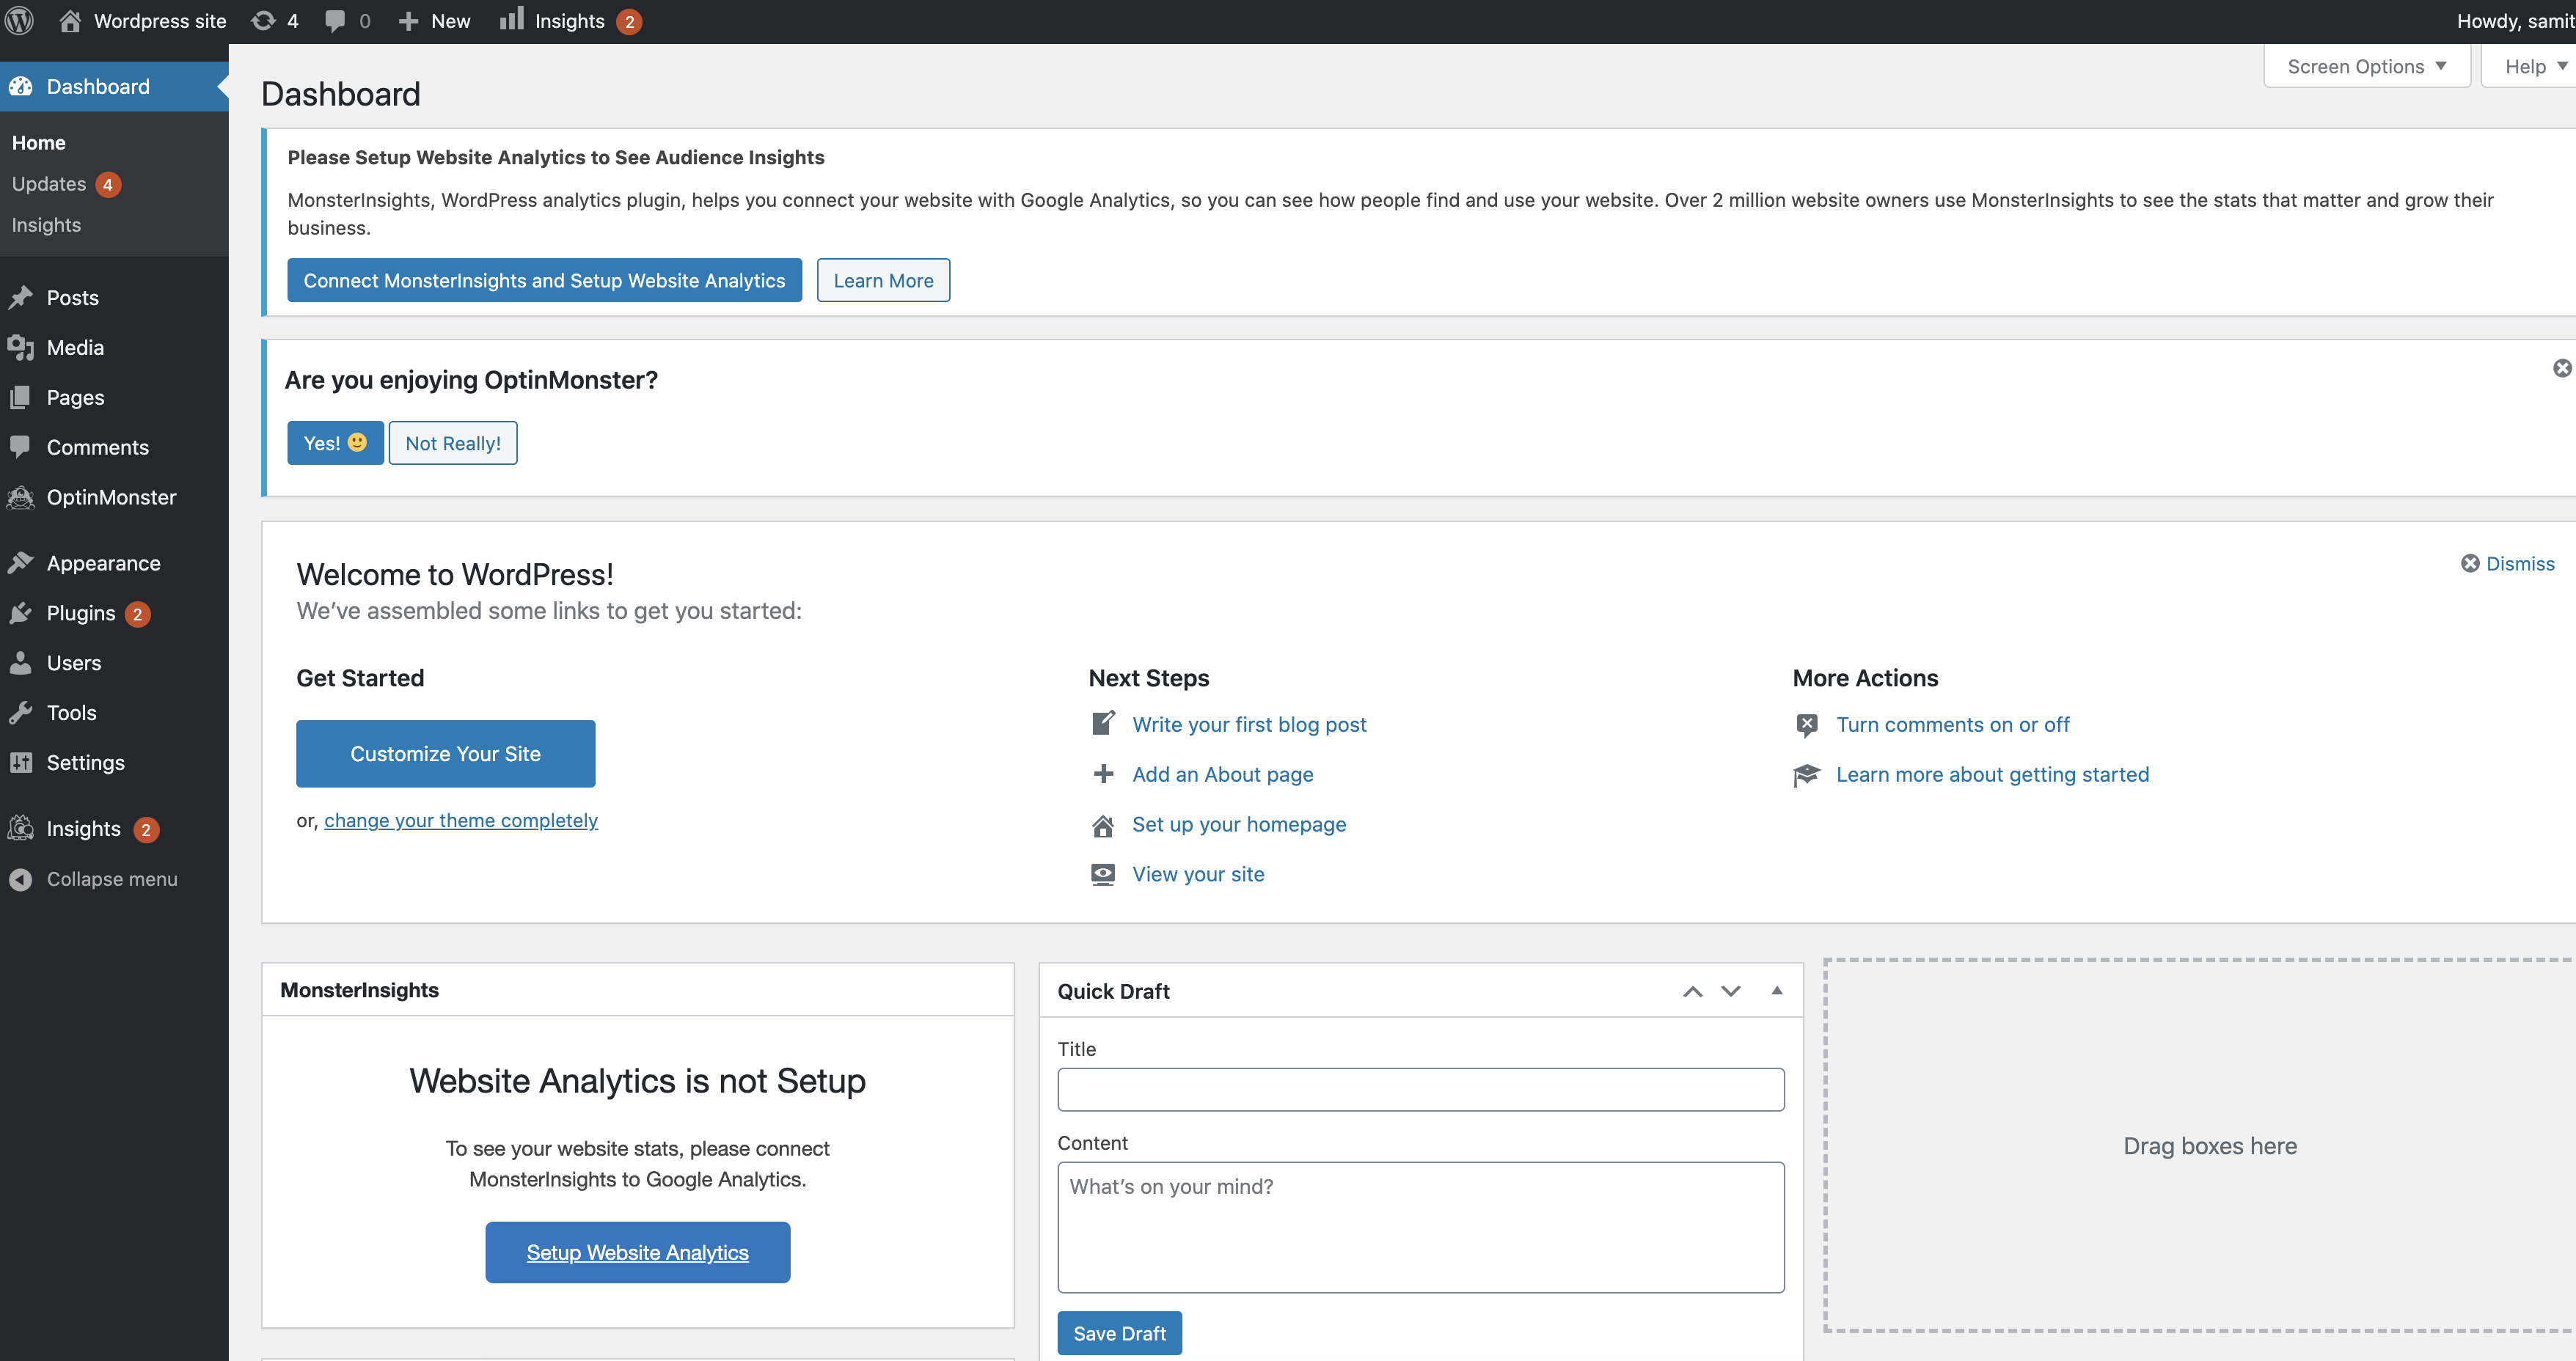
You can see the WordPress web front-end too (for login, use the password generated above):

Now, you have a WordPress instance on the Kubernetes cluster — a modern runtime platform that can scale, is resilient, and can be used to expose your portal application or blog to the world.